How to Install Court Divider Curtains
Proper installation of your indoor tennis court divider curtains is important to the life of your investment. For help preparing for this project, check out our tips for measuring indoor tennis products, such as divider nets and backdrop curtains.
Follow these simple instructions to install your divider curtains
1. The standard court needs 120’ of 10’- or 12’-high divider curtain, which can be divided into several sections (e.g., 40’ and 80’, 60’ and 60’, etc.).
2. They can be supported by cable and turnbuckle, high-tension wire or a track system.
3. The bottom of the netting should not be anchored to the surface in any way. However, lead rope can be added as a weight to force the curtain down towards the floor, thus further preventing balls from going between courts.
4. Tennis court divider curtains can also be used outdoors, but because they should not be hung on fence posts, appropriate hanging structures must be provided.
5. Proper installation is important, and the support structure must be capable of handling the high tension applied to the supporting cable.
6. Netting should be hung in two pieces that may be drawn to the ends of the court or to the center for court maintenance. The top of the netting should be strung 10’ to 12’ above the surface of the court.
7. When the bottom of the divider curtain touches the floor, over time abrasion will wear the bottom. Therefore, a detachable lower skirt may be specified and replaced when worn.
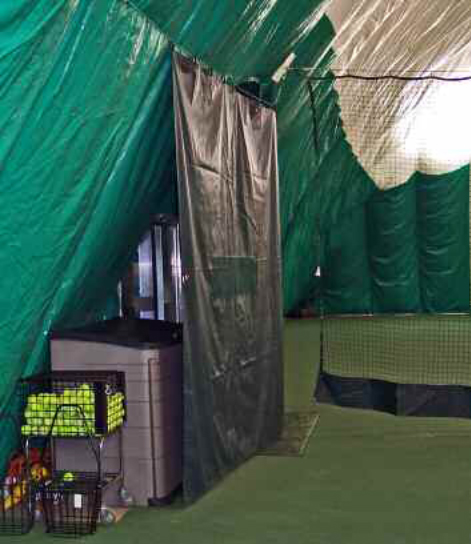
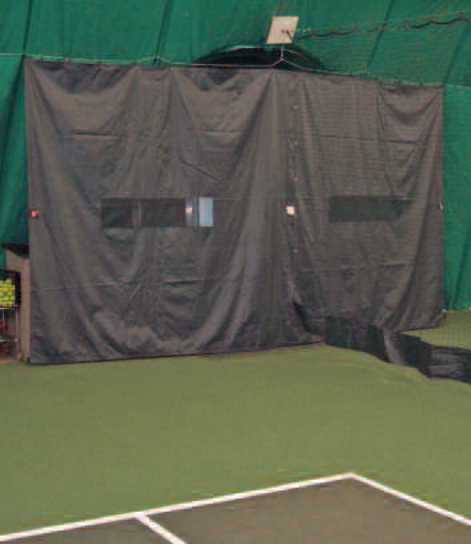
Below are a couple of pictures from a facility using a tennis court divider curtain to give you an idea of how divider curtains and backdrops appear when installed correctly.
This is a picture of a backdrop entry door and the divider curtain. Notice that this curtain does not touch the floor.

Here is another view of the same backdrop and divider curtain.

Do It Tennis offers several different Divider Nets and Backdrop Curtains from which to choose. You will find a wider selection of related products in our Tennis Court Equipment category.

